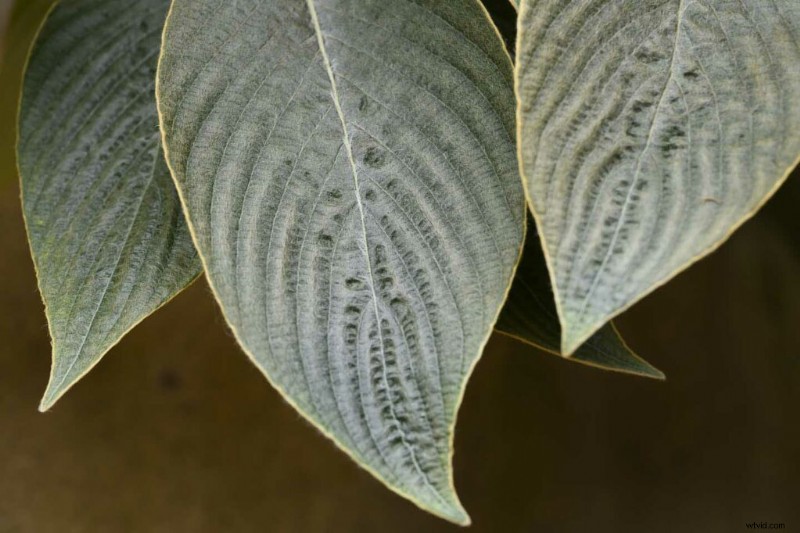
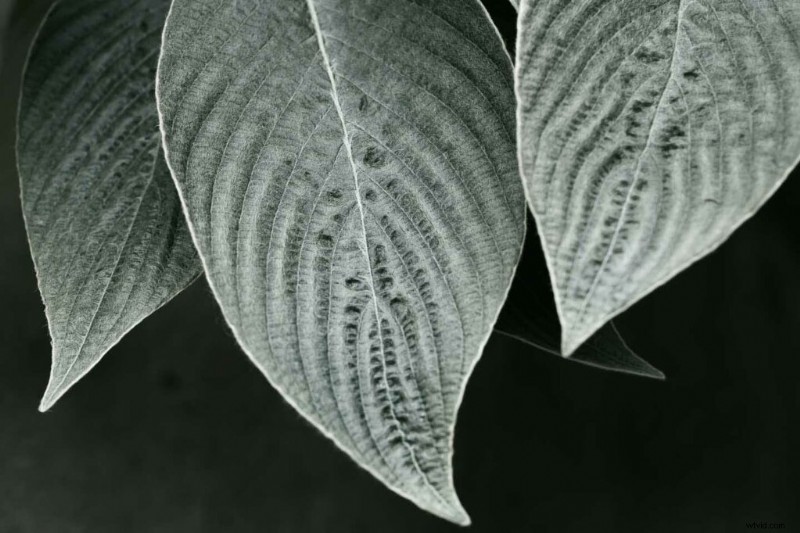
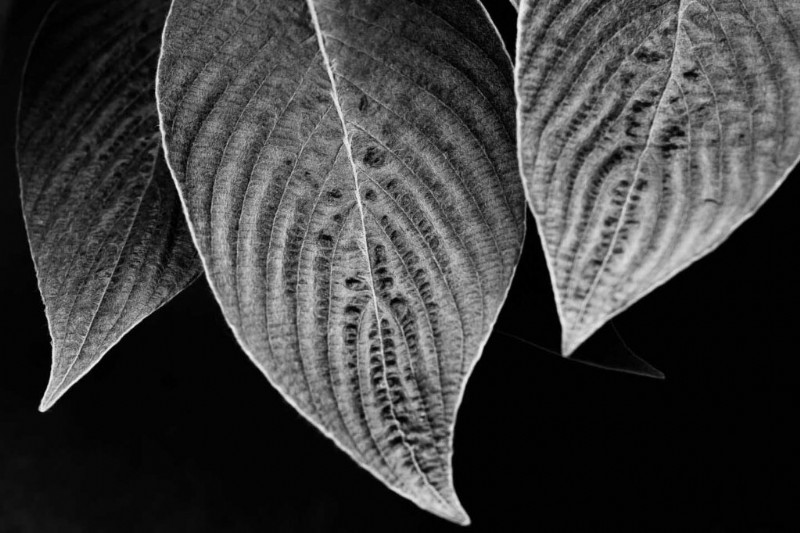
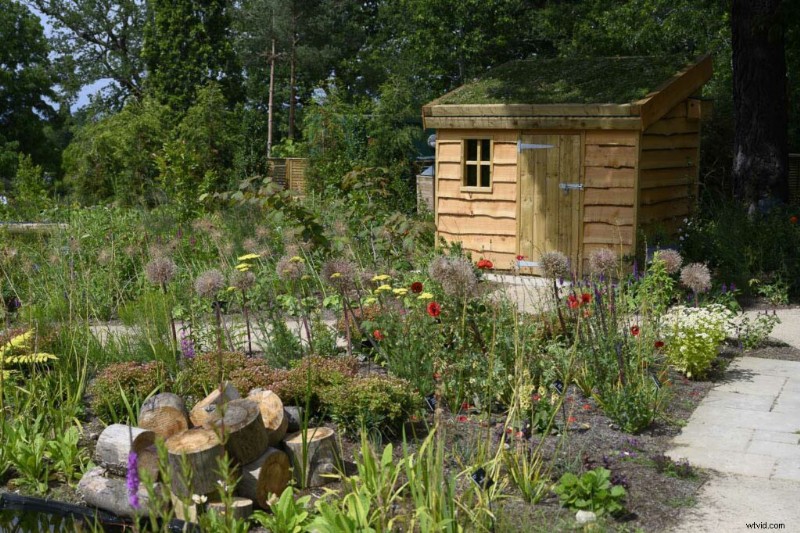
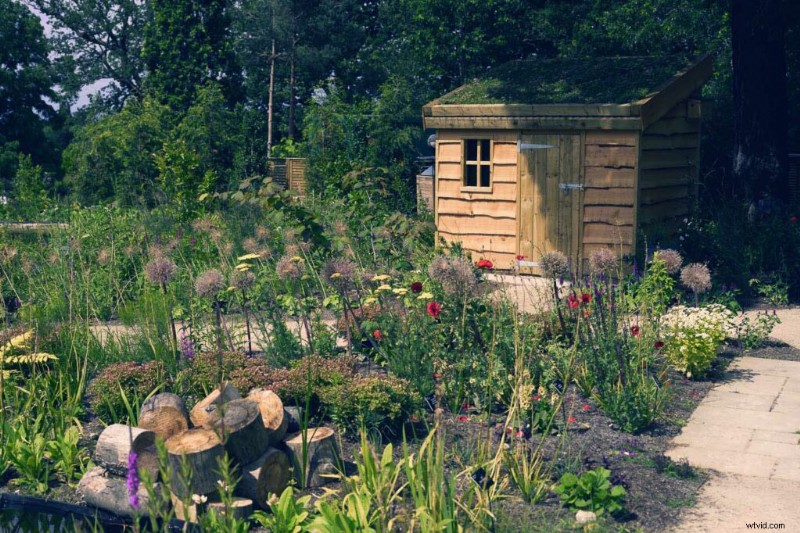
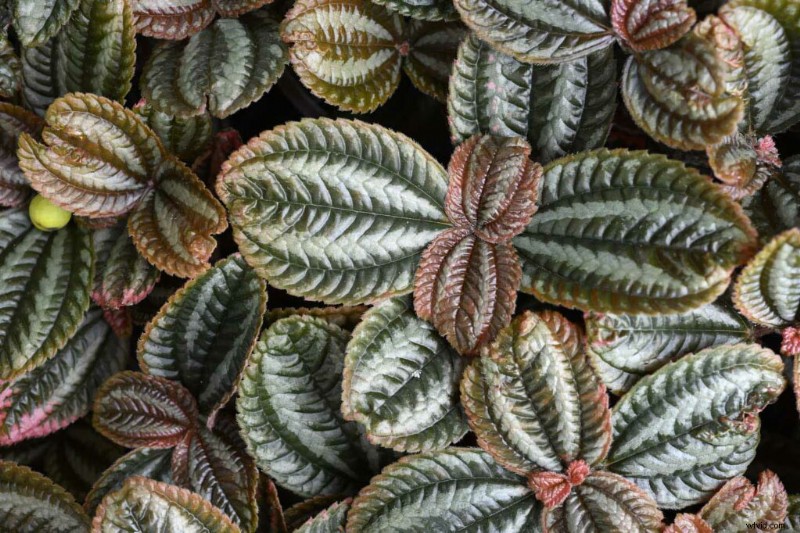
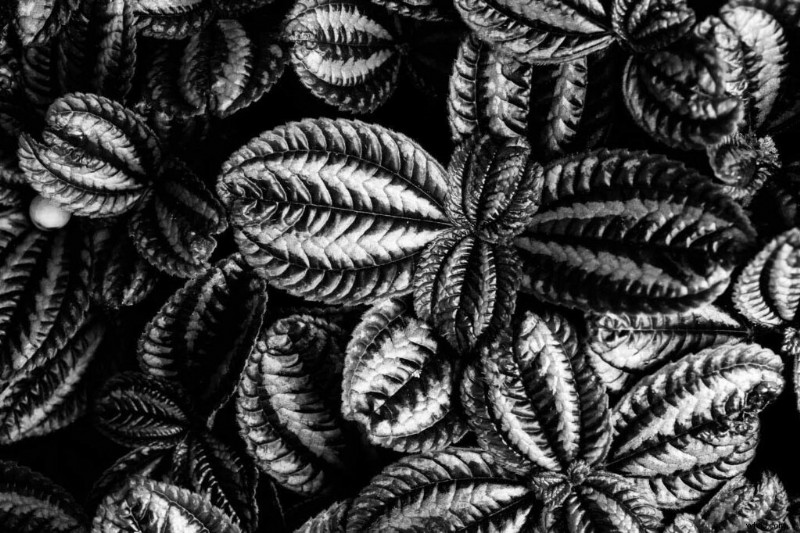
Los controles de imagen de Nikon existen desde hace mucho tiempo en sus cámaras digitales para dar a los archivos Jpeg un aspecto particular que se adapte a la escena o al estado de ánimo del fotógrafo. Inicialmente, la lista de opciones incluía Estándar, Neutro, Vívido, Monocromo, Retrato y Paisaje, y se agregó Automático para permitir que la cámara decidiera la opción más adecuada y Plano para usar al grabar videos. Más recientemente, se agregó una colección de 20 Creative Picture Controls y puede encontrarlos en cámaras como la Nikon D780, Nikon Z5, Nikon Z6 II y Nikon Z7 II. Tienen nombres como Dream, Morning, Pop, Sunday, Silence y Bleached, y van más allá de los ajustes menores habituales de nitidez, saturación y contraste para producir imágenes más creativas que pueden ser dramáticamente diferentes del resultado estándar.
Aunque aún puede editar las imágenes hasta cierto punto, el efecto producido por un control de imagen se "hornea" en un Jpeg, pero los archivos sin procesar aún tienen todos los datos de color. Además de aplicar los controles de imagen a los archivos Jpeg en la etapa de disparo, es posible aplicarlos usando los controles de procesamiento NEF (RAW) de la cámara Nikon en el menú Retoque, o usando los controles en Adobe Lightroom Classic y Adobe Camera Raw.
Naturalmente, no a todos les gustarán todos los efectos creados por los Creative Picture Controls de Nikon y no funcionan con todas las escenas, pero pueden ser una excelente manera de mejorar el modo de una escena o crear una imagen interesante en condiciones menos que perfectas. . Así es como se hace.
Cómo utilizar Picture Controls de Nikon en la cámara durante el rodaje
01 Dispara en formato RAW y JPEG
Debido a que el efecto de los controles de imagen se integra en archivos Jpeg, es una buena idea capturar archivos RAW y Jpeg simultáneamente, ya que esto le brinda una mayor flexibilidad para cambiar el aspecto de sus imágenes.
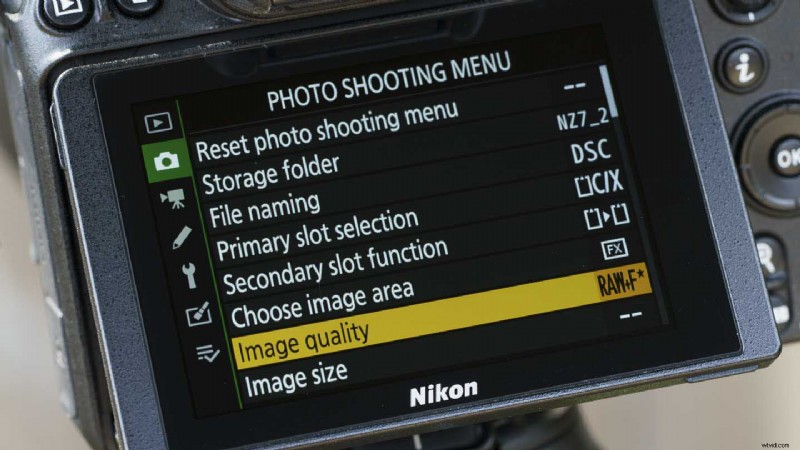
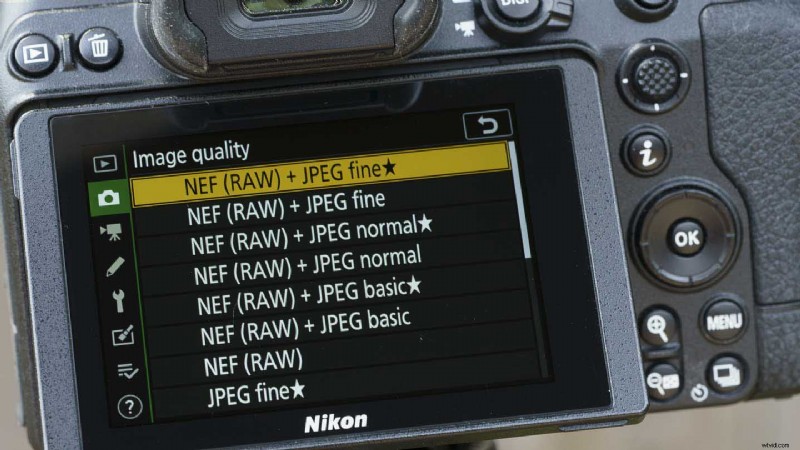
Presione el botón de menú y navegue hasta 'Calidad de imagen' en el menú de disparo. Luego presione el botón 'Aceptar' o toque 'Calidad de imagen' en el menú para revelar las opciones. Para obtener la mejor calidad posible, seleccione 'NEF (RAW) + JPEG fino' y presione el botón 'OK' nuevamente.
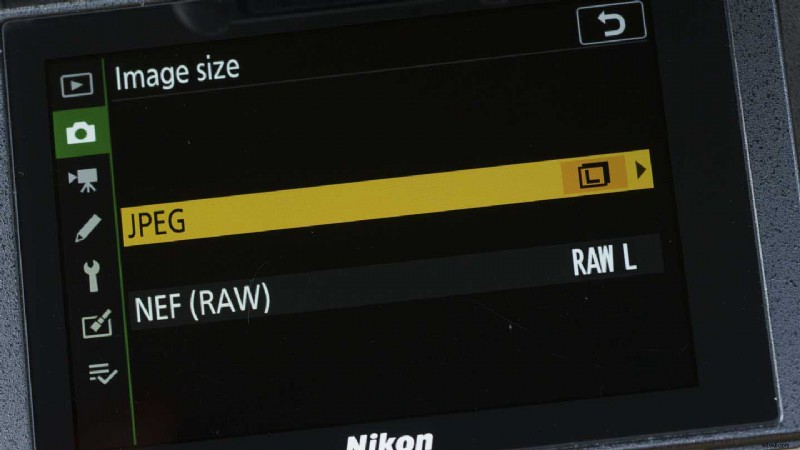
A continuación, seleccione "Tamaño de imagen" debajo de "Calidad de imagen" en el menú y asegúrese de haber configurado los archivos Jpeg y raw para que se graben en tamaño grande (L).
02 Seleccione el control de imagen
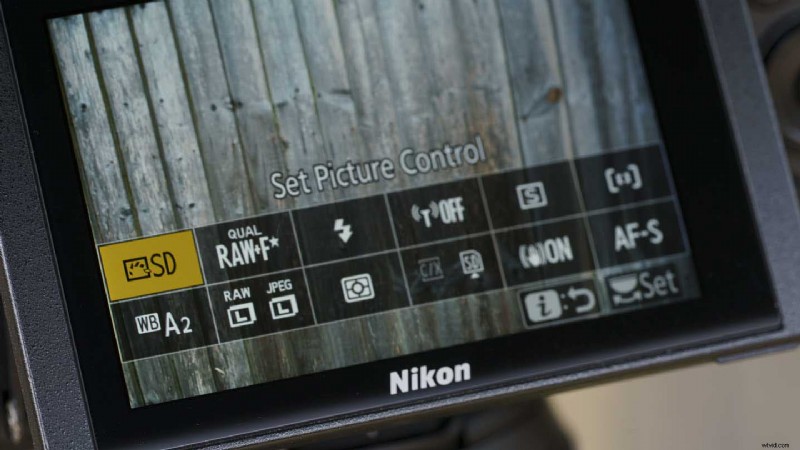
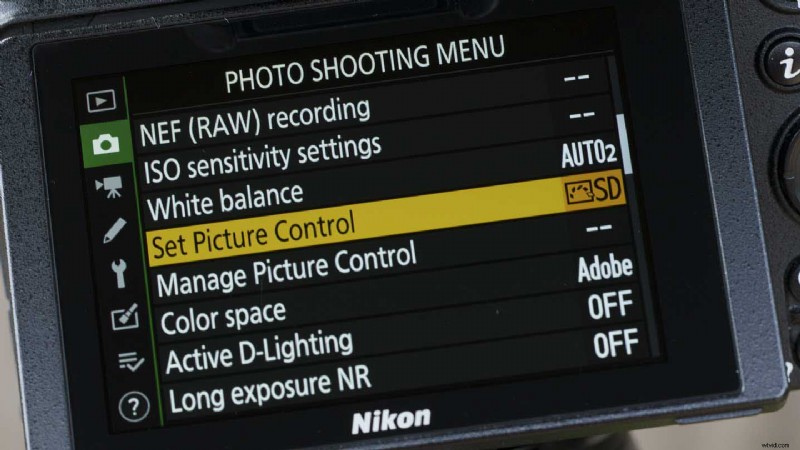
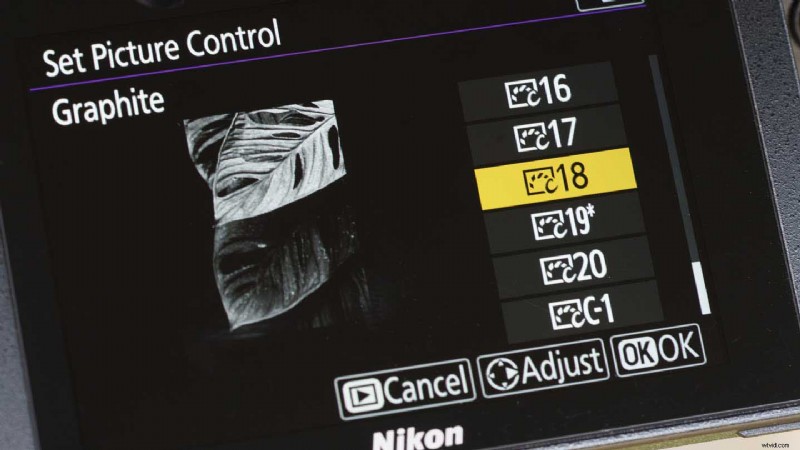
De forma predeterminada, se puede acceder a los controles de imagen a través del menú "i" al que se accede presionando el botón "i" en las cámaras Nikon, pero si personalizó ese menú y eliminó la opción, lo encontrará en el menú principal .
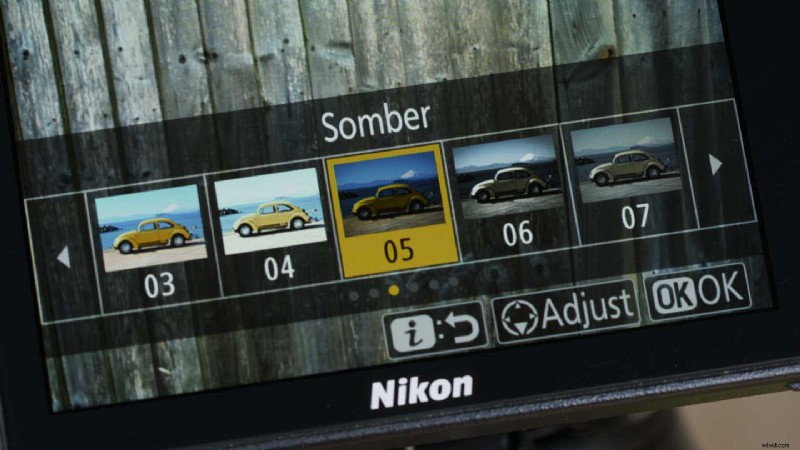
Simplemente ubique 'Establecer control de imagen' en cualquiera de los menús y presione el botón 'Aceptar' o tóquelo en la pantalla. Luego, desplácese por las opciones hasta que encuentre la que desea usar (o probar). 08 Blanqueado es uno de mis favoritos.
03 Ajuste la configuración
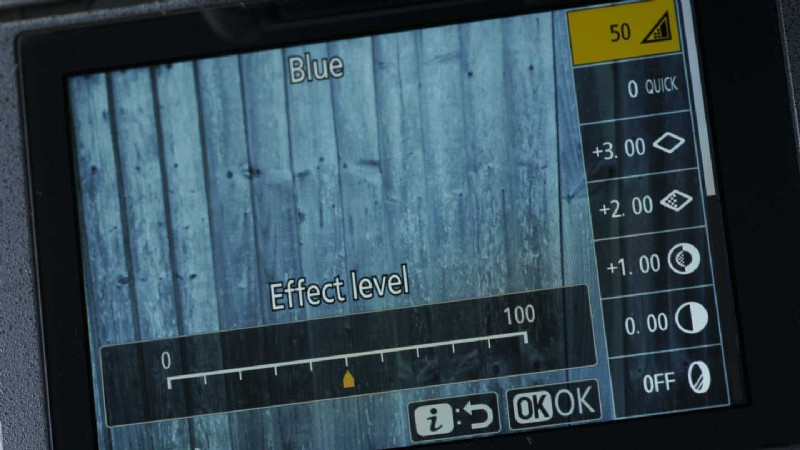
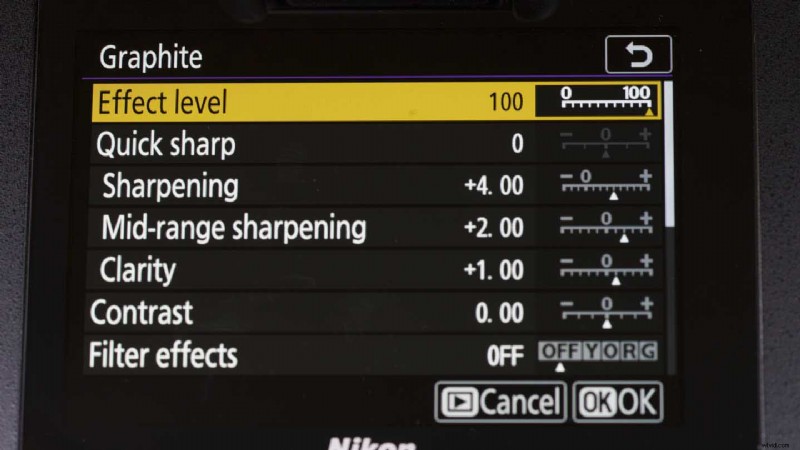
Puede usar cualquiera de los controles de imagen creativos en su configuración predeterminada, pero al igual que con los otros controles de imagen, puede ajustar su configuración. Para hacer esto, navegue al Picture Control de la misma manera que en el paso 2 y con el Picture Control que planea usar resaltado, presione la tecla de navegación hacia abajo en la cámara.
Esto abre una lista de parámetros para el ajuste, incluida la capacidad de reducir el nivel de efecto que se aplica.
Seleccione el parámetro que desea ajustar usando los controles arriba/abajo, o toque en la pantalla, luego use los botones izquierdo/derecho o toque la escala en la pantalla para ajustar el valor. Una vez que esté satisfecho, presione el botón 'Aceptar'.
04 Disparar
Si tiene una cámara sin espejo Nikon, verá el impacto del control de imagen seleccionado en el visor y en la pantalla. Si está usando una DSLR, debe cambiar al modo Vista en vivo para ver la escena con el control de imagen aplicado.
Aplicación de Picture Control posterior a la captura en la cámara
01 Localiza el menú de retoque
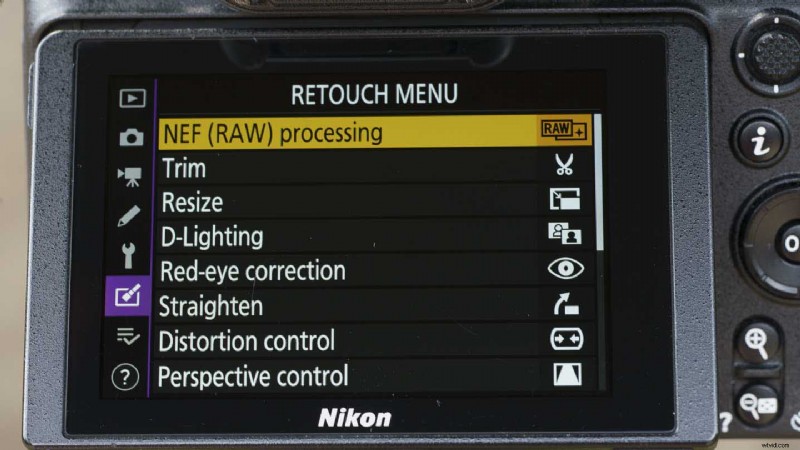
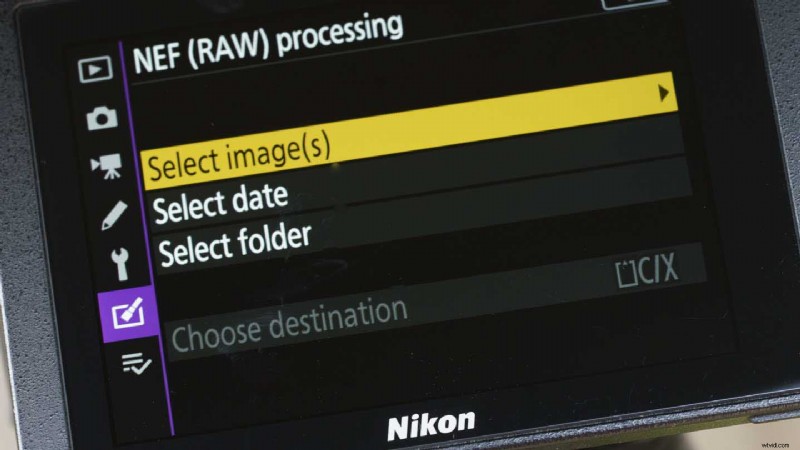
Una vez que haya terminado de disparar, presione el botón 'Menú' y desplácese o toque el ícono 'Menú de retoque'. Ubique y seleccione 'Procesamiento NEF (RAW)' en la parte superior de la pantalla. Luego toque 'Seleccionar imagen(es)' o selecciónela en el menú y presione 'OK'.
02 Seleccione la(s) imagen(es)
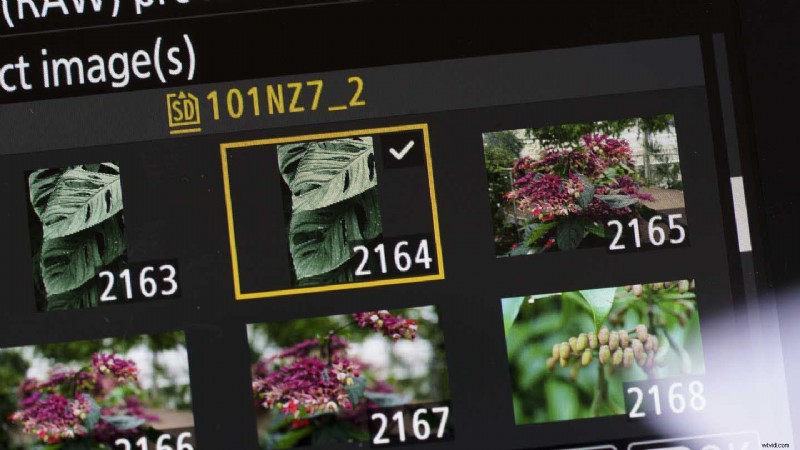
Browse through the images and use the zoom out button to add a tick to the thumbnail(s) of the one(s) you want to edit. Alternatively, tap once on the image to select it and tap again to add the tick.
Once you’ve selected the image(s) you want to edit, press the ‘OK’ button.
03 Make the edits
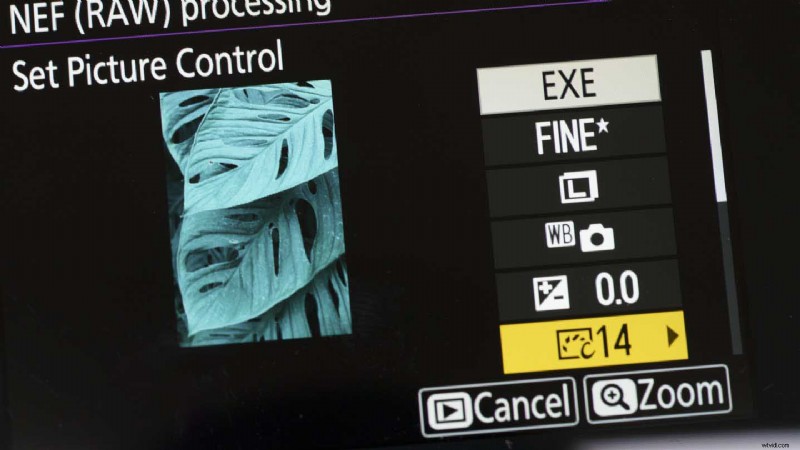
You’ll now see a screen with one of the images and a short list of the parameters available for adjustment. The Picture Control is at the bottom of the first page of the list. Tap on it or use the right navigation key to see a list of all the available Picture Controls.
As you tap on any of the alternative Picture Controls, or navigate up and down using the navigation controls, you’ll see the image change as the new effect is applied. When you’ve find the one you want, you can either press ‘OK’ to apply it or you can press the right navigation button to access the same adjustment controls that are available for tailoring the image when using the Picture Controls at the shooting stage.
Make any edits that you want before pressing ‘OK’ and then scrolling up to ‘EXE’ to save the image as a Jpeg.
Using Nikon Picture Controls with raw files
Adobe Lightroom Classic and Adobe Camera Raw, which is the raw file editor supplied with Adobe Photoshop, both have the profiles to replicate the impact of using Nikon’s Picture Controls with Nikon camera raw files at the processing stage. It’s really easy to apply them in either software package and you can use them in combination with all the usual editing controls. Así es como se hace:
01 Open the image
If you’re using Adobe Lightroom you first need to import the images to the software, but if you’re using Adobe Photoshop you just need to locate the file(s) you want to work on and then open it/them. Photoshop automatically opens Adobe Camera Raw when you attempt to open a compatible raw file.
02 Select the profile in Adobe Camera Raw
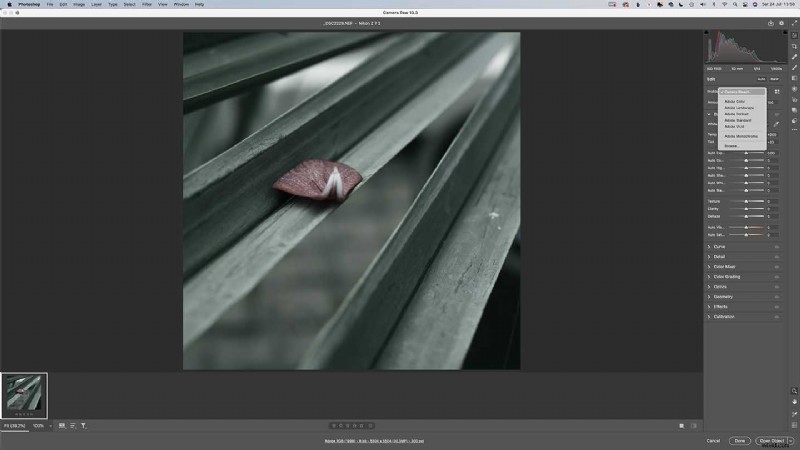
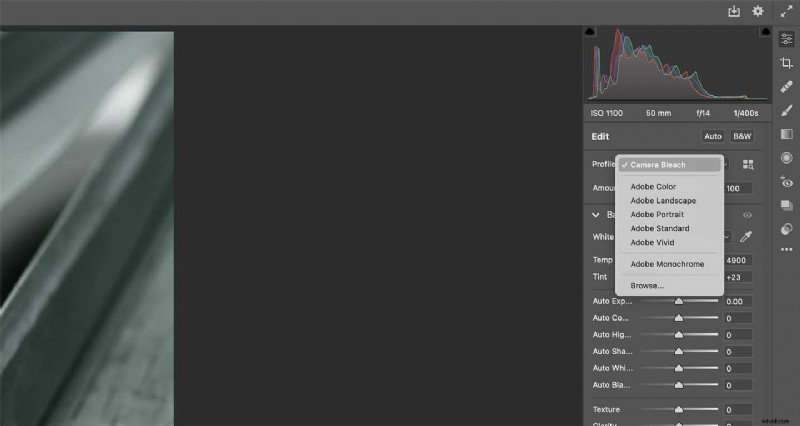
With the image open in Adobe Camera Raw, select the ‘Edit’ icon at the top of the adjustment icons and then find ‘Profile’ near the top of the adjustment panel, it’s immediately under ‘Edit’. It will show ‘Camera’ and the name of the Picture Control that you used originally.
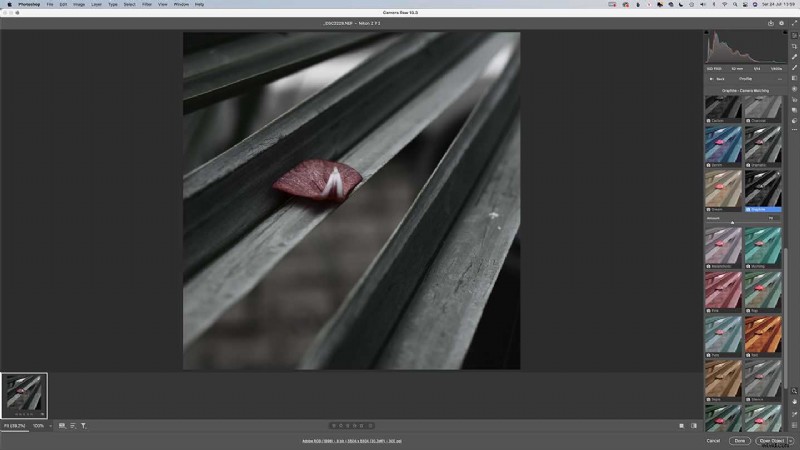
Click on the dropdown arrow to the right of the profile name to reveal the options available. You’ll see a short list of Adobe options followed by ‘Browse’. Click on ‘Browse’ and, if necessary, ‘Camera Matching’. This will reveal thumbnails of all the Picture Controls available. Just scroll until you find the one you want – the main image on the screen while change to show a preview if you hover over any of the thumbnails.
Once you’ve selected the Picture Control you want, you’ll see a sliding control to let you reduce the degree of the effect. After setting the level you want, click on ‘Back’ near the top of the panel to get access to all the usual Adobe Camera Raw Controls and process your image as normal.
Or
02 Select the profile in Lightroom CC
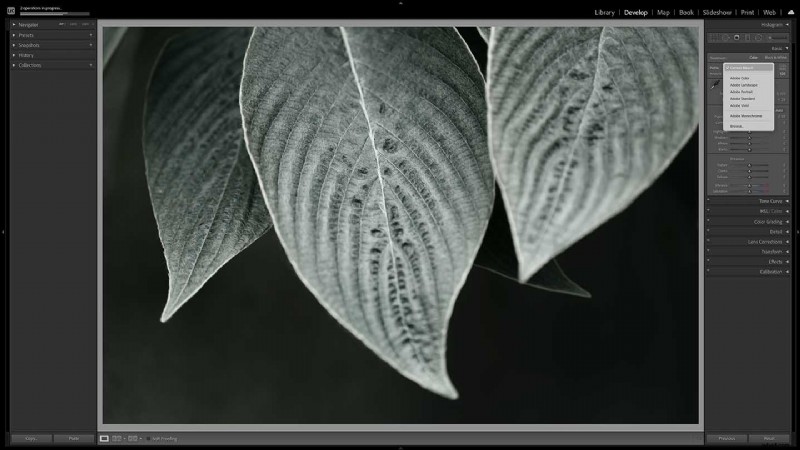
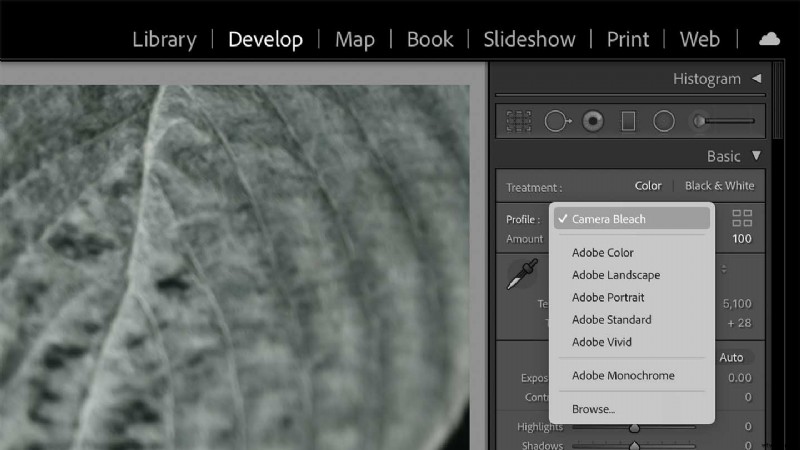
With your images imported into Lightroom CC, select the one you want to edit and click on ‘Develop’. Make sure that the Basic adjustment panel is open and click on the profile dropdown arrow. This is to the right of where it says ‘Profile’ followed by ‘Camera’ and the name of the Picture Control that was used at the shooting stage.
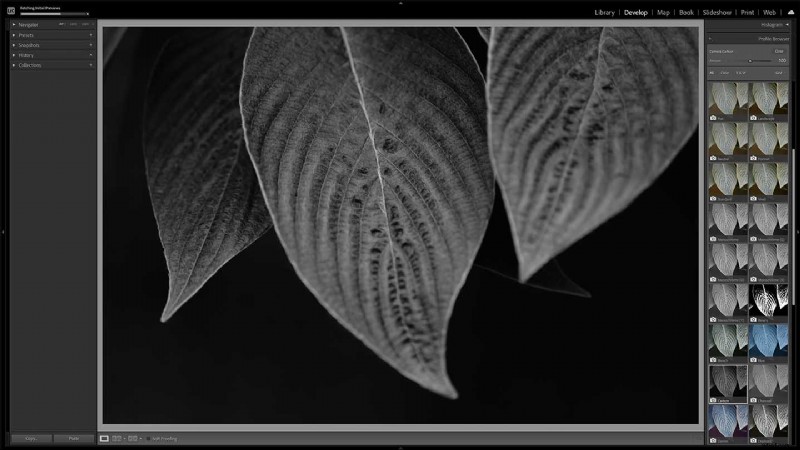
Click on ‘Browse’ beneath the Adobe options, and if necessary expand the ‘Camera Matching’ section to see the available Picture Control settings. As you hover over the thumbnails for each Picture Control settings, the main image will preview the effect. Simply click on the one you want to use. You can then use the control at the top of the panel to reduce the level of the effect. When you’re finished, click on ‘Close’ to return to the usual Lightroom editing panel and finsih your image as normal.

